

Western Hemisphere Pack
From December 15th 2023
Ready for more?
Website under renovation - please contact us for a copy of the content if you need it - cicadaseedlings@gmail.com
〰️
Website under renovation - please contact us for a copy of the content if you need it - cicadaseedlings@gmail.com 〰️

Borage
Cucumber - Spacemaster

Tomato - Black Zebra Roma

Lettuce - Baby Cos

Okra - Hill County

Portuguese Cabbage

Carrot - Solar Yellow

Chickpea

General Advice
Pot care and planting
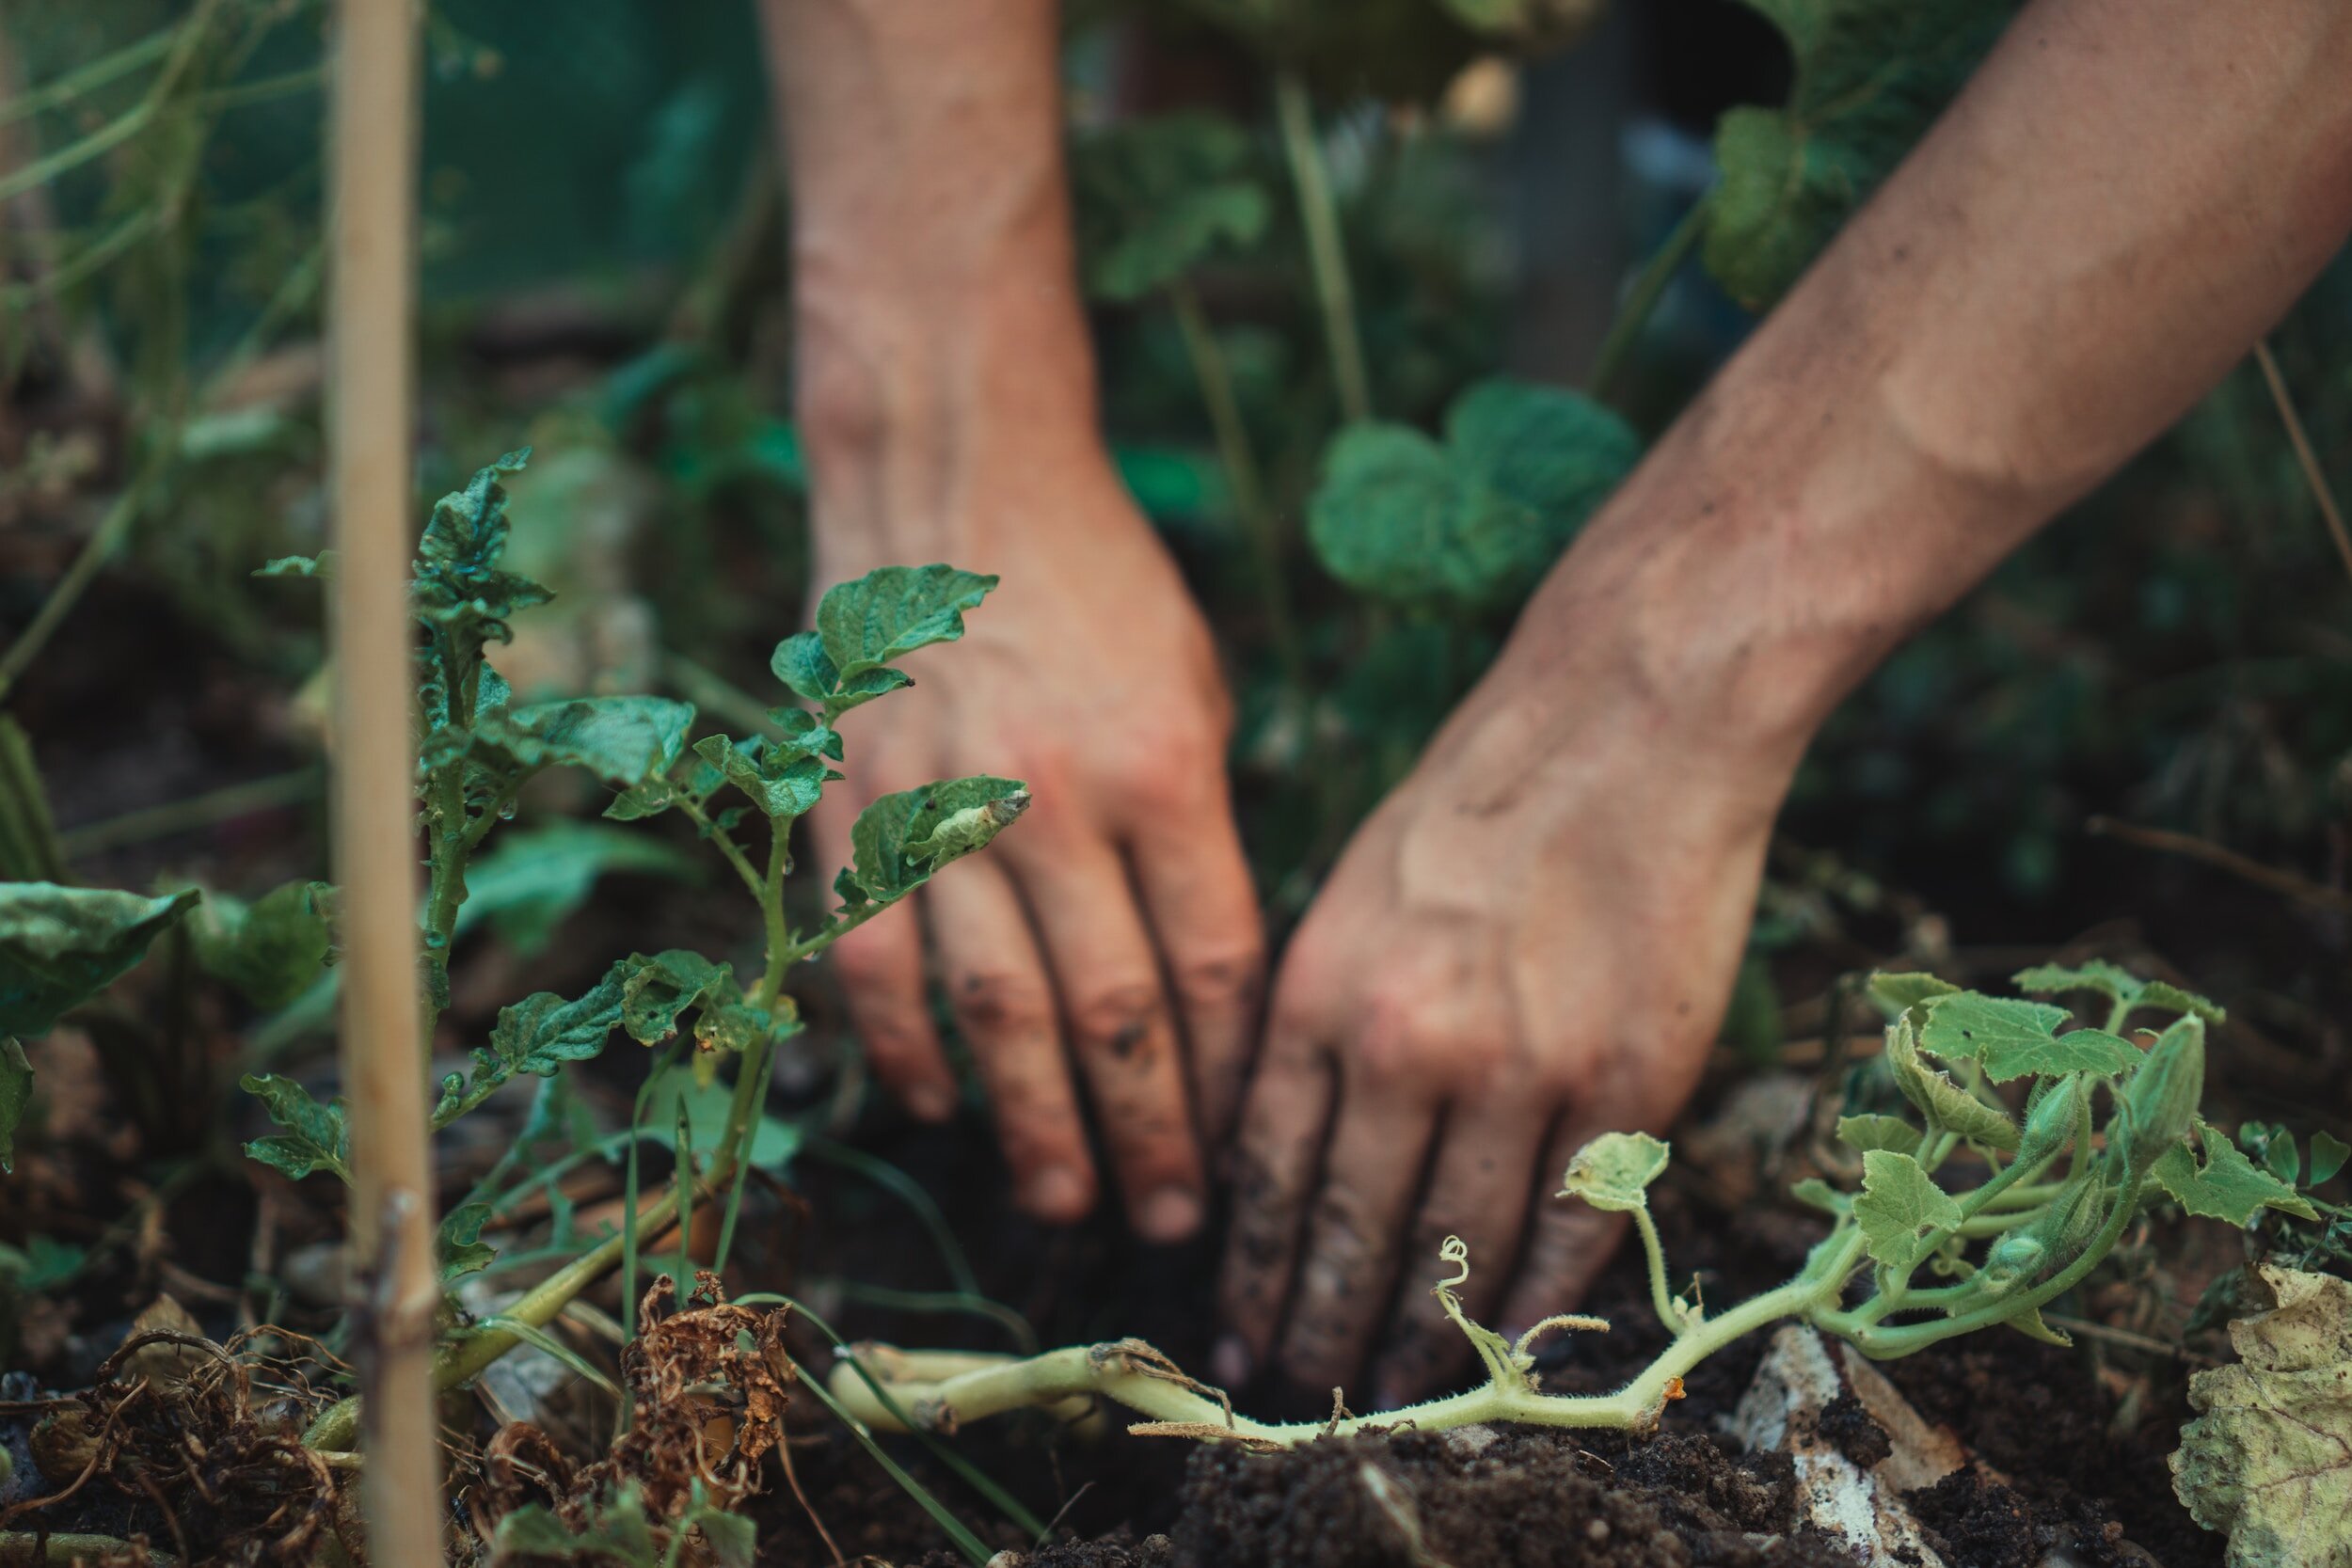
Dig a hole in your prepared soil that is twice the size of the pot. You can add a little compost to the hole before planting if you have it - this is recommended for plants that will grow fruits, in particular. After a brief watering, use the fingers of your non dominant hand to create a ‘net’ over the top of each pot, with the plant poking through. Turn the pot upside down and tap firmly on the bottom of the pot, until you feel the weight of the soil drop into your hand. Don’t pull on the plant to remove it from the pot. Some squeezing and gentle shaking of the pot may help, if the plant is hard to release.
When you first get your plants home, water them no more than once per day, until each pot starts to drip from the bottom. Overwatering can leach the nutrients from your soil, affecting the health of the plants, while underwatering causes some vegetables to go to seed early. Potted vegetables should never sit in a dish of water or on a surface that doesn't let all of the water drain out - you want to allow the surface soil to become lighter and drier before watering again, without letting the soil underneath dry out completely.
Companion planting overview
This pack is made up of four plants which are big, thirsty, and sun loving (cucumber, okra, and two tomatoes); a few plants which like a lot of sun and an average amount of water (Portuguese cabbage, borage and lettuce), and a collection of plants that need less water and can survive by soaking up what's left in between larger plants (chickpeas and carrots). Therefore, if you want to try a companion planting approach to this specific collection of vegetables, I recommend this time, imagining that your garden bed or collection of extra large pots has a wet zone, an intermediate zone, and a drier zone. You can create this artificially with your watering, or there may already be features about your garden that cause some areas to be drier or wetter than others, such as elevation, the drainage of pipes, or longer hours of sun exposure. Have a look around your garden space and identify these areas, making sure that they get at least half a day of sun touching the ground - it might take you 24 hours or more to complete this stage of the process. Aim to get an understanding of how the shade moves around your place at this time of year. Now that you know where to plant, choose four large spots in the wet zone for your largest plants, that are easy to reach and appropriately spaced, and ideally have an existing support structure. Tomatoes and cucumber can't be planted next to each other, but okra can be planted next to both - so put it in the middle. Place the other pots near and next to these four, around the intermediate zone of your bed, starting with the lettuce - you want to make sure they are ready to shelter underneath the leaves of the taller plants. Put the borage and cabbage on the other side of this, and when you're satisfied with the spacing according to the advice below, plant them all. Get your packet of chickpea seeds, and start plugging them into the soil about 2cm deep, concentrating around the cabbage and on the far side in the 'drier zone', a few between the other vegetables, and more across the rear of your bed where it's not so easy to reach - excluding close to the tomatoes. Once they're in, you can scatter the carrot seeds anywhere you like, and scuff the soil around a bit with your fingers to get them buried by a couple of millimeters. This will give you a bed that clearly helps you remember how much water to give each plant - more on one side, less on the other, and an average amount in the middle. Water the soil extremely well, and then start to adjust, being careful not to overwater the germinating chickpeas.
Watering
The exact amount of water you use after planting isn't as important as being consistent - you can use your finger to check whether the soil has been watered deeply enough, to help you learn how long it takes to reach that point in your garden, on average. It should never be dry under the surface, but its best if it looks dry on the surface just before you water. If its still wet on top, try watering a bit less the next day - but if its dry underneath, you'll know to spend a bit longer on watering in future.
Don't water the garden if there's been more than 5mm of rain that day - but remember that some rainy days aren't wet enough to keep your garden healthy, so you'll need to water anyway. Mulching your garden with dried materials like leaves, bark, straw or shredded paper helps keep the moisture in, so you can water less. Allowing a few weeds to cover the soil with tiny leaves and flowers is healthy too. Too much water will encourage slugs and cause the roots of some plants to rot.
Sun exposure
All of these plants need to be in direct sunlight for at least part of the day - each has its own preferences, but planting them close together in clumps with their companion plants can make the most of space. It's a good idea to imagine how wide and tall each plant will get, and plant them as close together as you can without them shading their neighbours too much in the future.
Seed saving and propagation
Always air-dry your seeds completely before you store them away to prevent mould growth, and keep them in an airtight container like a jar with a lid or a resealable bag.
Pest control
Sometimes, the biggest threat to your garden is bugs! These seedlings are quite big and should be able to resist a few nibbles, but there are some things you can do if your pest problem is out of hand, or if you try starting fresh seeds in the garden bed.
More information about controlling pests is on our "Growing your food" page


